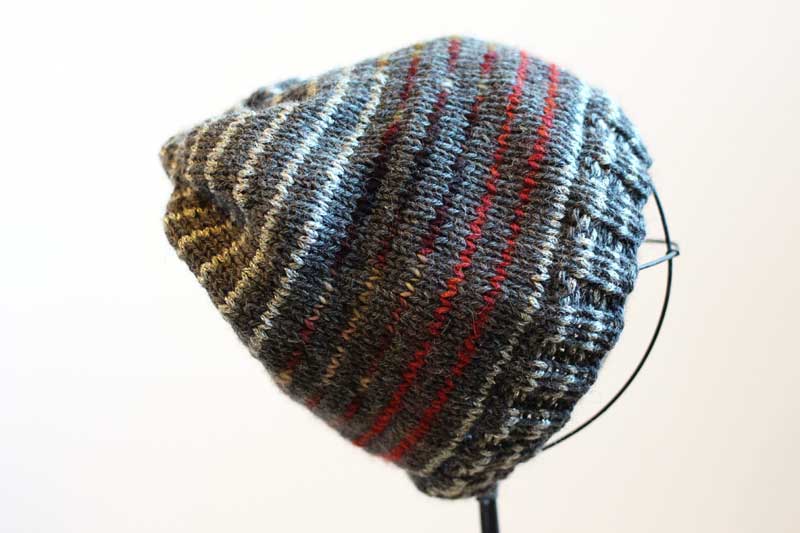
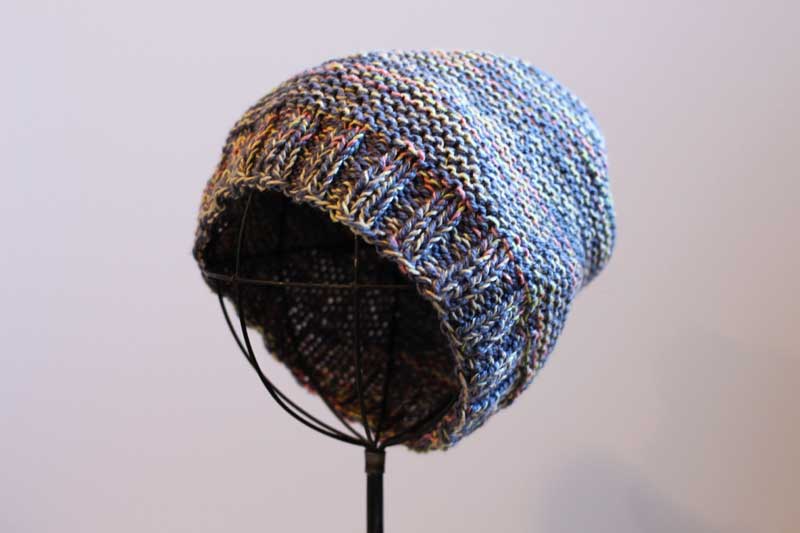
Knit from the top down using several worsted weight yarns in my leftovers stash in neutral browns with some pale blue to finish it off. I added corrugated rib to the bottom to make the hat a bit more interesting to knit and to use up as much of the blue yarn as possible. Since I had a few yards of the blue and a teeny tiny bit of brown left at the end I made a small pom pom to top the hat- I love it when I use up every last bit of yarn!
Haturday - Knit Hats
Knotted Topped
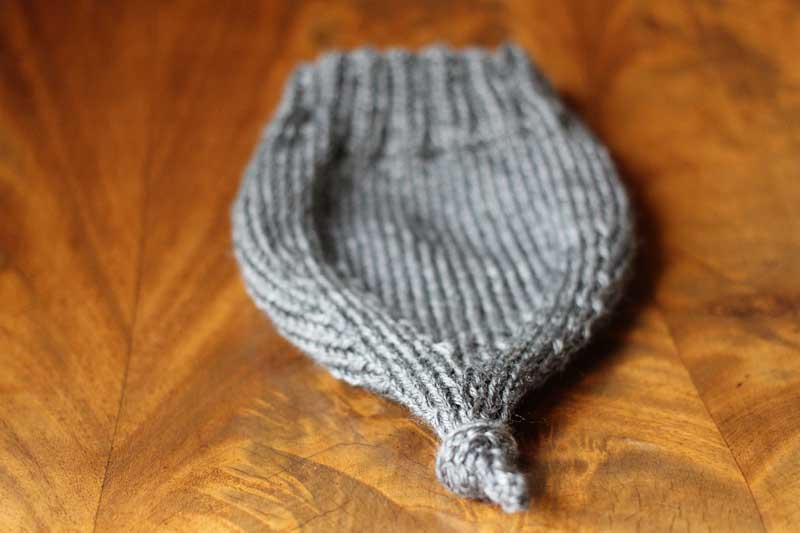
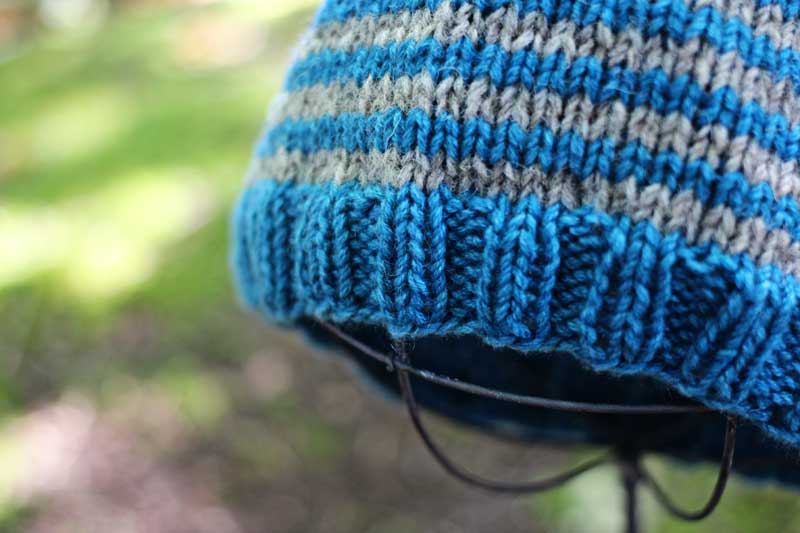
Knit in Cascade Pacific – a superwash wool/acrylic blend that doesn’t feel too “squeaky”, this was a quick baby hat, taking just a couple hours to knit.
I worked 2 x 2 ribbing, then st st until the hat was nearly long enough- then worked 6 decreases around every 3rd round to create a pointed top. Once I was down to just a few stitches I worked Icord until I had enough of a tip to tie in a small knot.
Pink Lotus
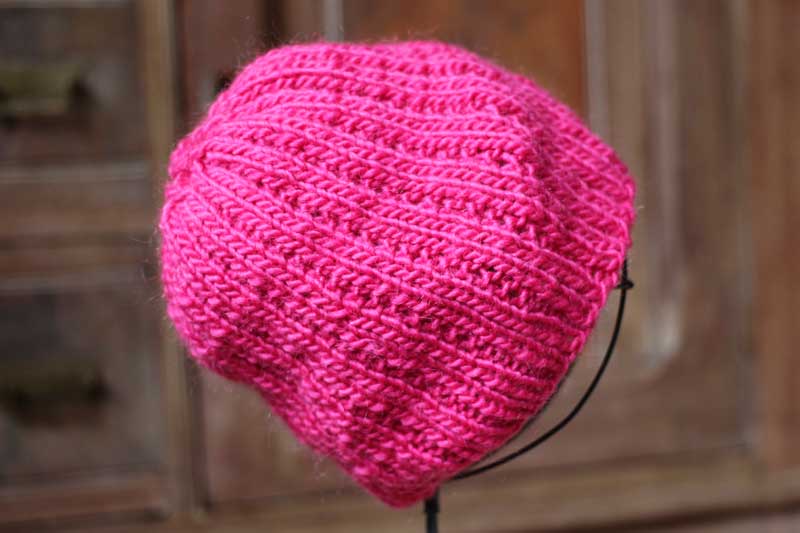
A thermal inspired rib pattern keeps this hat nice and stretchy, while not being as fitted as a regular ribbed hat. I knit a ribbed brim for about an inch before switching to the pattern to make sure the brim would draw in enough to keep the hat securely on the head. Knit in some Lamb’s Pride Worsted in Lotus Pink that I thrifted, I am not sure I would have chosen the color otherwise- but it did make for a very cheerful hat!
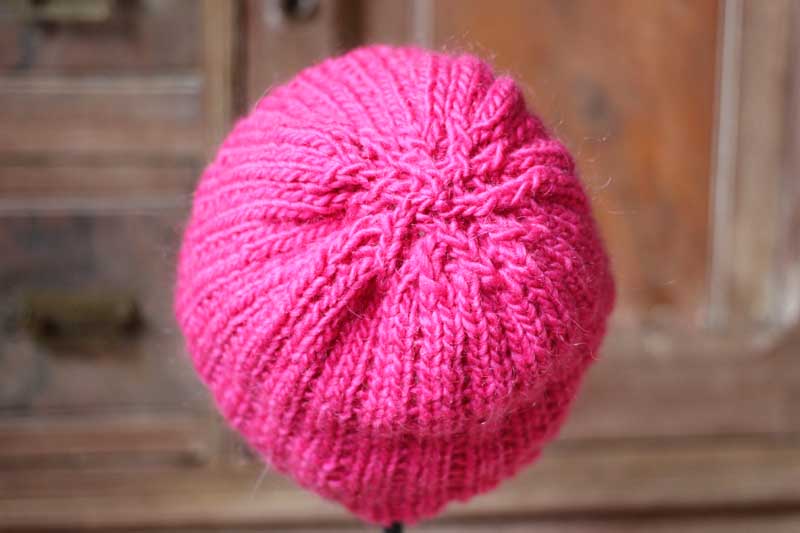
The decreases at the top of the hat are a great example of why it is generally best to work several rounds between rapid decrease rounds to prevent stitches from pulling out. This will be less noticeable after blocking.
Metallic Gray Hats
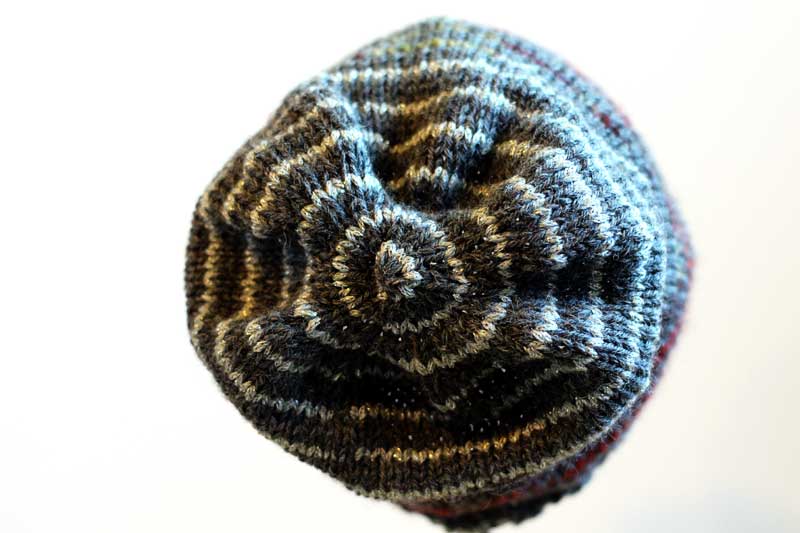
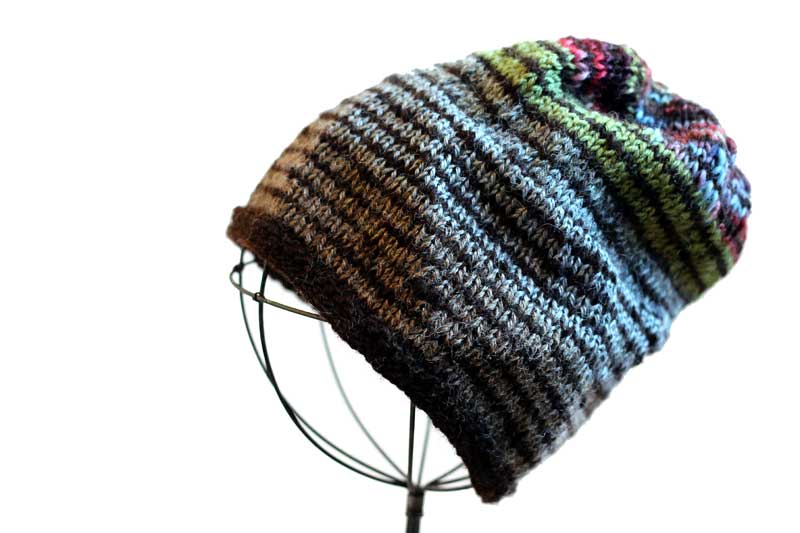
I knit these two gray striped hats to use up a pile of worsted weight leftovers-, a bit of Manos, a bit of metallic, a bit of tapestry wool in a funky green color, and some leftover beige and grays (some silk and alpaca blended in there!). To tie the yarns together I used solid color stripes.
The first hat I knit a huge chunk of the body in being and gray stripes, switching to a bright green and then the Manos to stripe the top. The main color of the hat is a brown wool I thrifted- it’s not super soft, but it is a fantastic deep brown color that really makes the silver and greens pop.
The second hat I knit to use up a large chunk of the metallic yarn and all the remaining Manos. I knit the hem in metallic stripes, then switched to the body until I ran out, switching back to the metallic to finish off the hat. Since I didn’t have much of either yarn left (I like a challenge!), I knit 3 rounds in between single rounds of the contrasting color.
Midnight Express Hat Top Tutorial
Midnight Express Hat Top
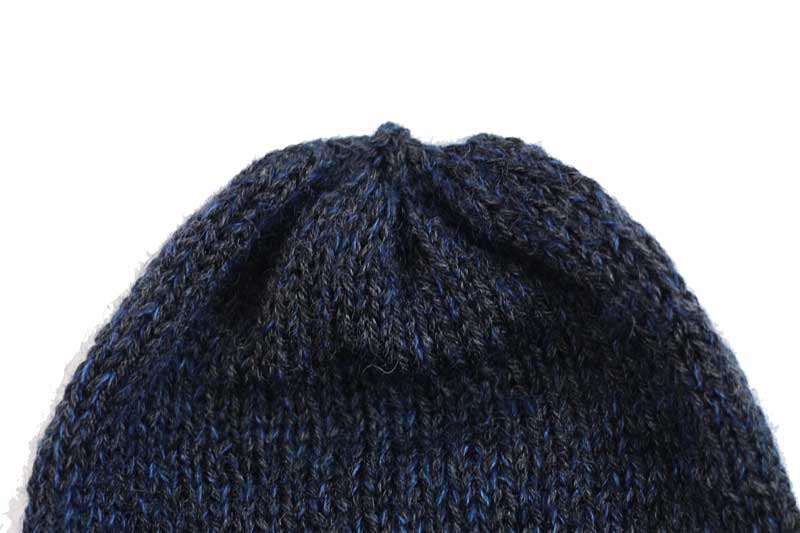
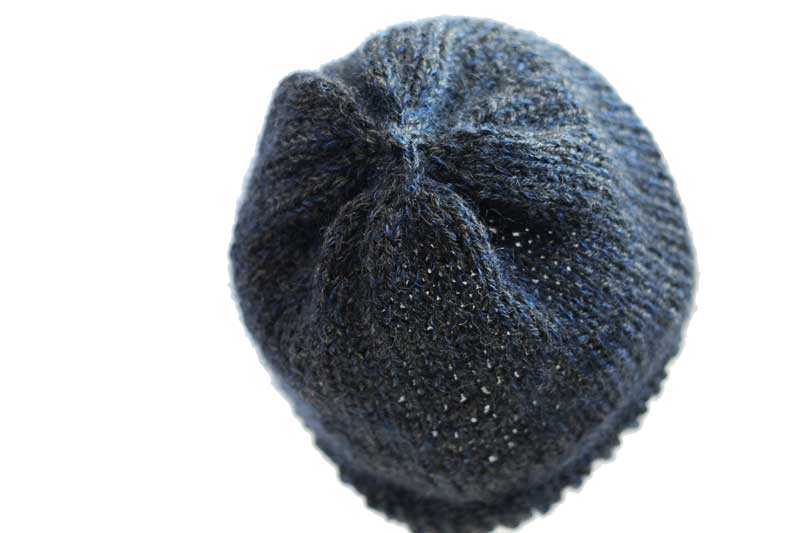
This is the hat top you make when you realize you have knit around and around (and around) and are about to run out of yarn. Or when you want a hat with a scrunched up top typical of many slouchy hats without having to break yarn and pull through 20+ stitches (the downside of which is often a hole that widens as the hat is worn).
Set Up: Finish knitting the body of you hat. You want the hat to be as long as you need for it to fit your head- or a bit more if you want it to be slouchy, since the decreases add only a couple rounds. I try the hat on and scrunch it on top of my head- if I can scrunch the top all the way closed, I am ready to start decreasing.
To work the top: Knit 2 stitches together around and around, every round. No need to place a marker, just work around until you are out of stitches. Try and keep an even tension as you do this (especially at the edges of needles), to avoid stretching out the decreases.
- Flat top: Stop when you have 6-8 stitches left if you want a “flat” top without a slight point at the top, break yarn, pull through remaining stitches. This is best if you need a flat top for attaching a pom pom to.
- Pointy tip top: Knit 2 together around until you have 2 stitches left. Pull the last stitch over the first, break yarn, pull through last stitch. This forms a teeny tiny pointy tip at the top.
Good for:
- Stretchy, slouchy hats with a casual look.
- Stockinette, reverse stockinette stitch, or very simple patterns that won’t be distorted by the rapid decreasing.
- DK, worsted weight, or larger yarns where all the stitches can be decreased in just a few rounds.
- Wool and wool blend yarns with lots of stretch- they won’t look as distorted by the rapid decreasing.
- When you want to finish a hat quickly- no stitch marker or remembering how many rounds to knit between decrease rounds.
Not great for:
- Sock weight or smaller yarns- anything that takes more than a few rounds tends to look sloppy and stretched out. Better to add a few knit rounds between decrease rounds.
- Inelastic yarns- yarns that are mostly cotton, silky, or other fibers without much stretch won’t look at neat at the top.
Variation:
I usually work a variation of this top, with several knit rounds between each round of decreases. This still has a scrunched top, but stitches do not look pulled out, and it is easier to continue decreasing in a particular stitch pattern.
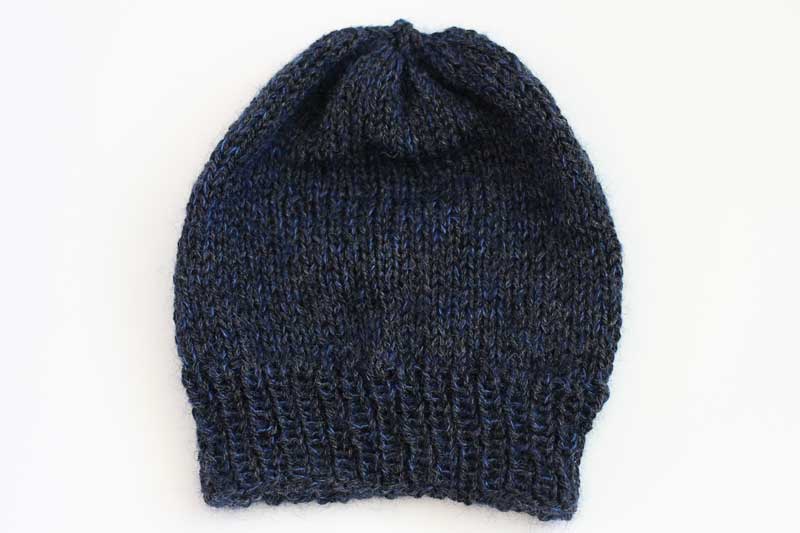
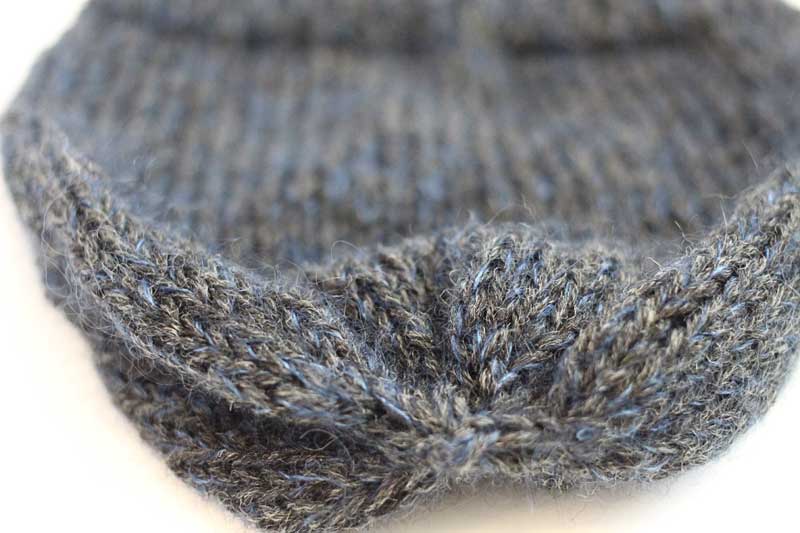
I knit this hat in a dark gray wool with a strand of mohair and silk held along for a bit of fuzz and shine. I sized up a needle from my usual gauge to really let the mohair shine through. A couple inches of 1×1 ribbing for the brim (being lazy and not switching to a smaller needle, since I didn’t have one with me- notice how it poofs) and straight st st for the body made this a quick and easy knit- which is just what I needed for a weekend project while waiting for fireworks at a festival.
Cashmere Tweed Redux
Knit with the leftovers from the Tweedy Cashmere Hat combined with some neutral gray and gray/beige wools, this was a very simple but fun beanie to knit! It’s not as soft as its predecessor, due to the wool, but there is more stretch to the hat.
Thin 2 round stripes contrast nicely with the solid color ribbed hem. I do wish I had made the hem a wee bit longer so the cashmere totally covered the ears, but then I suppose I probably wouldn’t have had enough yarn to finish the hat in stripes!
Metallic Pink
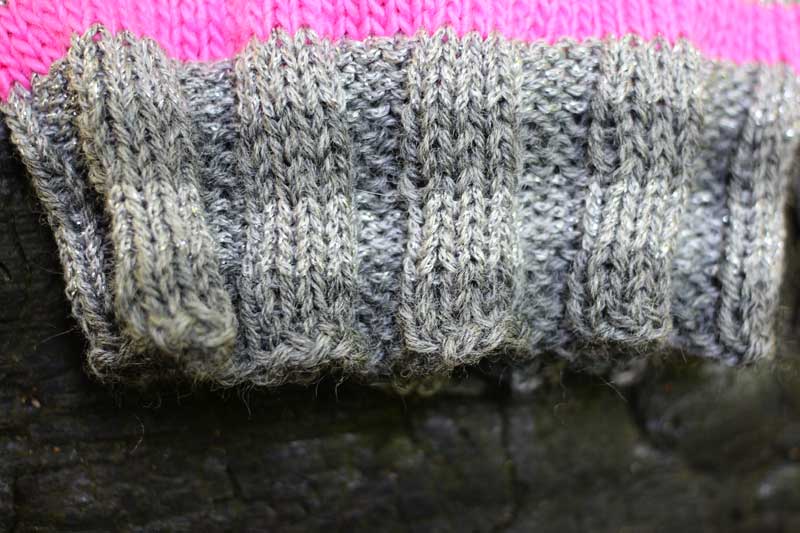
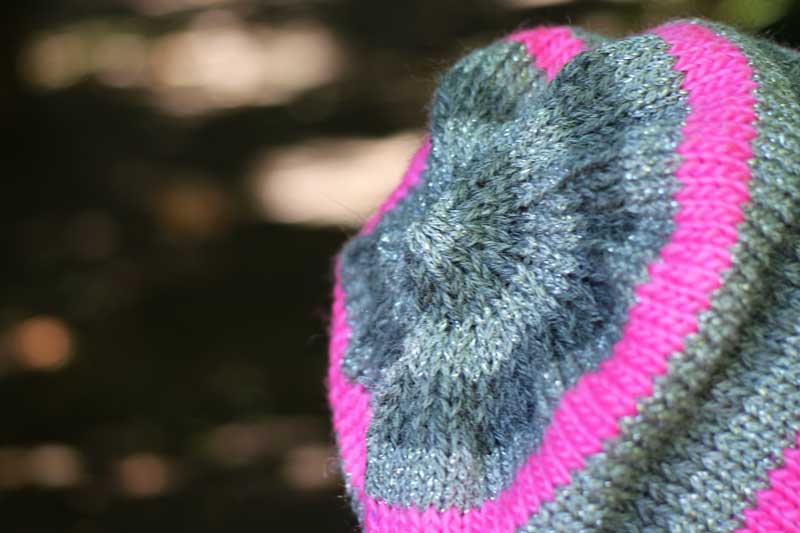
Knit in a metallic silver yarn with alternating stripes of hot pink and dark gray wools. I was trying to use up the last bit of some very neon pink yarn (Silky Merino in 402 Hot Pink by Malabrigo).
The dark grey is a plain wool yarn, which helps add some stretch to the ribbed hem and counteract the very much not stretchy nature of the metallic yarn. The silver metallic yarn is a rather odd braided/i cord style acrylic novelty yarn with a strand of shiny silver running through it. Not my usual choice of yarn- but very fun with the hot pink stripes.
Deep Blue Sea Hat
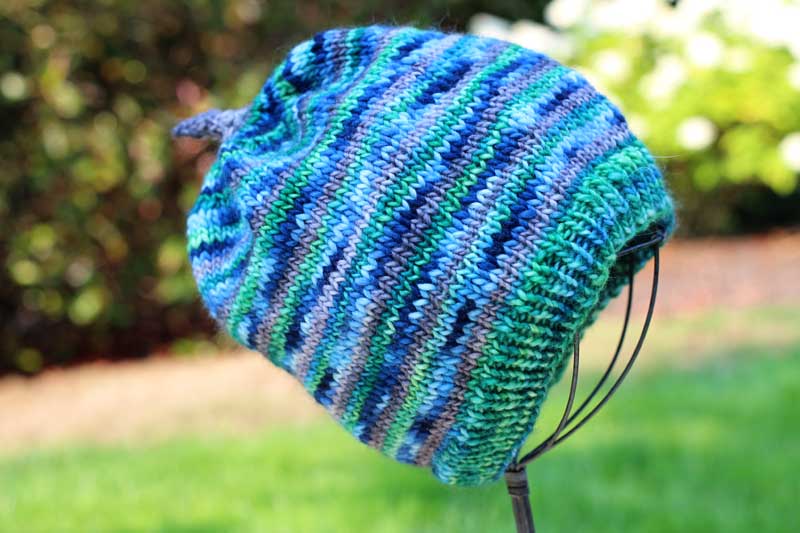
I had three partial skeins of Malabrigo (or similar handspun) yarns just begging to be hats- but none of the skeins were quite enough to knit a full hat.
I alternated the 3 colors every 2 rounds to keep the yarns from pooling or varying in thickness too much between stripes. The yarns all appear to be merino, and the hat is quite soft (though not very stretchy, but it wasn’t meant to be).
Building Rectangles Hat
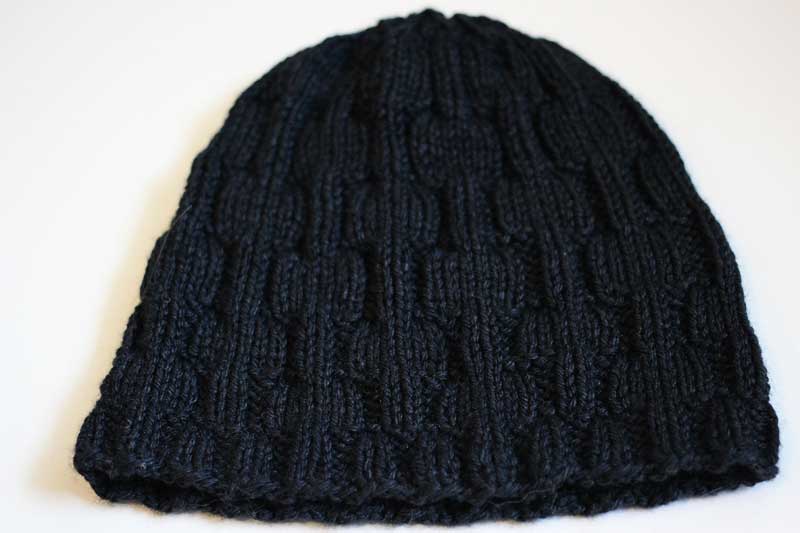
A simple knit/purl ribbed hat knit in Zephyr- I found a partial cone of at the thrift store, enough to make a couple hats out of!
I alternated the rectangles as I went along to keep the knitting interesting- even in a wool/silk blend, black yarn isn’t terribly amusing to knit with (well, unless you are somewhere dark- then you have the added excitement of not being to see your yarn well!).
The pattern draws in slightly, which helps give the beanie some stretch- the yarn itself doesn’t have that much stretch due to the weight and percentage of silk.
Tweedy Cashmere Hat
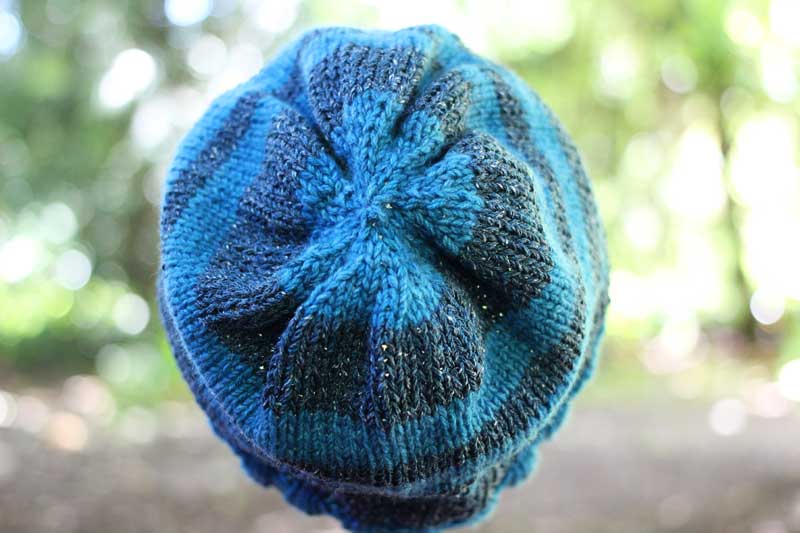
I didn’t have enough of either yarn to knit a hat by themselves, so I combined a lovely skein of recycled cashmere yarn in a bright teal with a skein of silk tweed yarn to knit a striped hat. The resulting hat is fabulous- not too bright, not too tweedy, one of my fave “plain” hats to date. The subtle variation in the shades on teal in the cashmere yarn perfectly complement the silk.
Since neither yarn has much in the way of stretch, I added some ribbing to help the hat stay on. I did random stripes to make the knitting more interesting, and a quick decrease at the top to stretch the yarn as much as possible.
Gray Hipster Hat
Gray Hipster Garter Stitch Hat
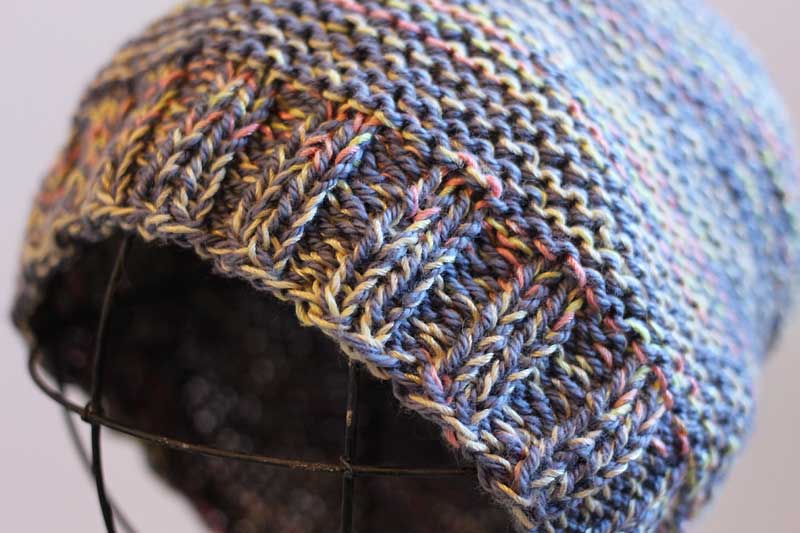
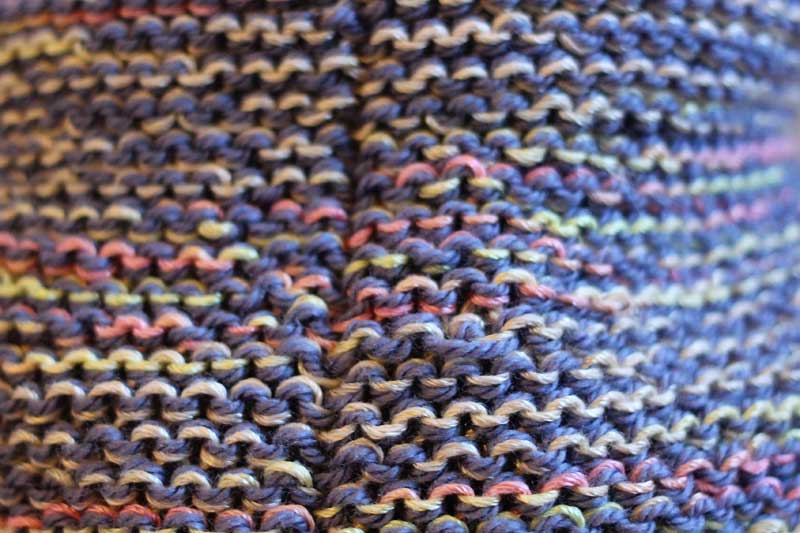
I held a solidly boring gray yarn along with some funky bamboo/cotton yellow and pink yarn I thrifted (it came with some other yarn I wanted). The gray really helped tone down the hat, and along with the garter stitch, broke up the pooling colors.
Next time I will try a 1×1 rib with the garter stitch to see how that looks. As it is, I like the way the garter stitch scrunches up and makes the hat slouchy. Garter stitch hats are definitely hats meant for when you have plenty of yarn- something I really didn’t have- I had only a few yards of the yellow/pink yarn left!
The seam created by knitting garter stitch in the round- not too noticeable on this hat, but does require you to plan accordingly for most garments to avoid an obvious seam.
Yarnarchy Hat
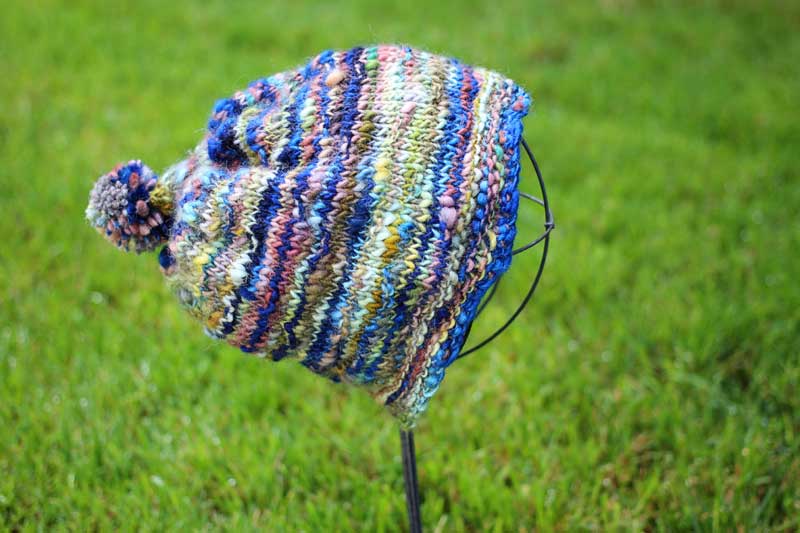
Knit in BFL (bluefaced leicester- a type of sheep) thick and thin handspun yarn from Yarnarchy- a yarn biz from Concrete, WA. The name of the yarn is “Down the Rabbit Hole”. I got the yarn while I was at Urban Craft Uprising in Seattle, where there were several booths with yarn.
The yarn is thick and thin handspun, somewhat fuzzy, and very soft. Since the skein only measured 100 yards, I knew I would be cutting it a bit close on yardage for a hat. I originally started wrist warmers in the yarn (2 at a time, so I wouldn’t have to worry about yardage), but the way the stripes were working out in combination with the thick/thin texture wasn’t quite working for me. I switched to knitting a top down hat. I prefer to knit my hats from the bottom up- easier on the hands for the top part of the hat- but I wanted to be sure I could judge when I was about to run out of yarn. When I knit bottom up hats I can usually just use a 16 inch circular needle. When I knit from the top down I need to do magic loop on a longer needle or use double points until the hat is long enough for it to be comfortable to knit on the 16 inch circ.
I started with 5 stitches and slowly increased to 10 to form a pointed top, then doubled stitches every round (working 2-3 rounds in between increase rounds) to 20, 40, and finally, 80 stitches.
To make the hat more interesting to knit, I worked purl bump (p2, k6) around every few rounds, varying where I started the purl bumps so they moved around the hat.
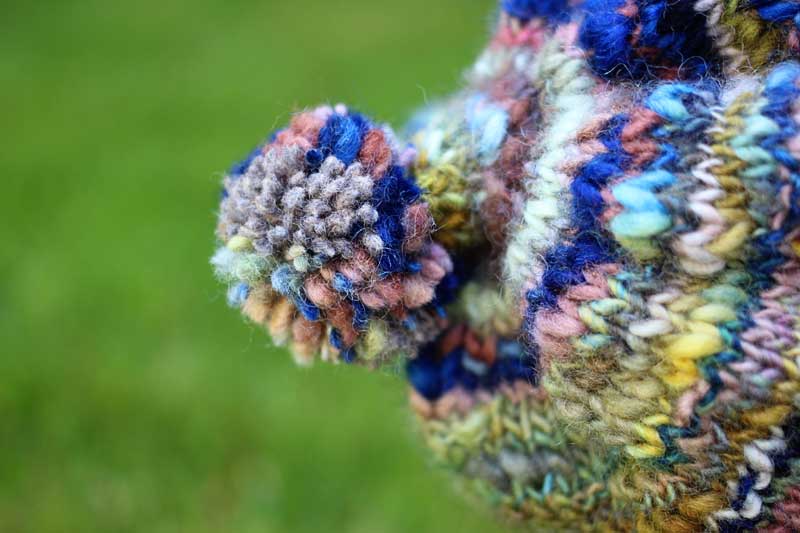
Garter stitch to prevent curling. But first- preventing flaring- I decreased 4 stitches around, then alternated purl and knit rounds to create ridges, ending on a purl round. By this point, I was holding my breath as I bound off- I had only several yards left. Once I finished the bind off I found I had maybe 2 yards left, enough when combined with a bit of the Shelter yarn I had leftover from another project to make a jaunty pom pom for the top!

